This page will lead you through putting your post into WordPress. At the bottom of the page is a screencast of me putting a post in if video is more your medium. Message me with any questions.
Step 1: Log in
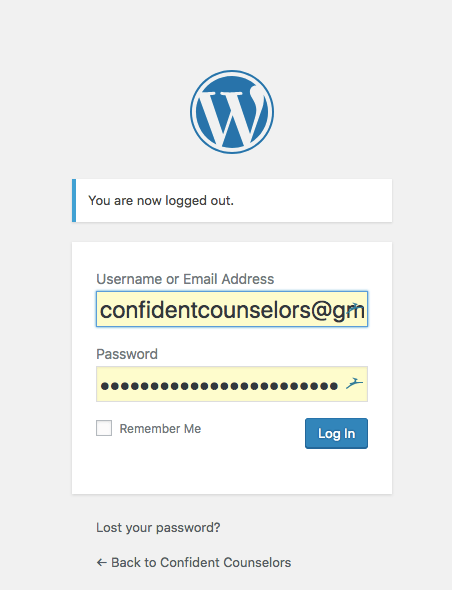
Go to https://confidentcounselors.com/wp-login.php and enter your login information.
Step 2: Posts
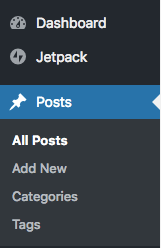
Click Posts in the left sidebar.
Step 3: Find Your Post
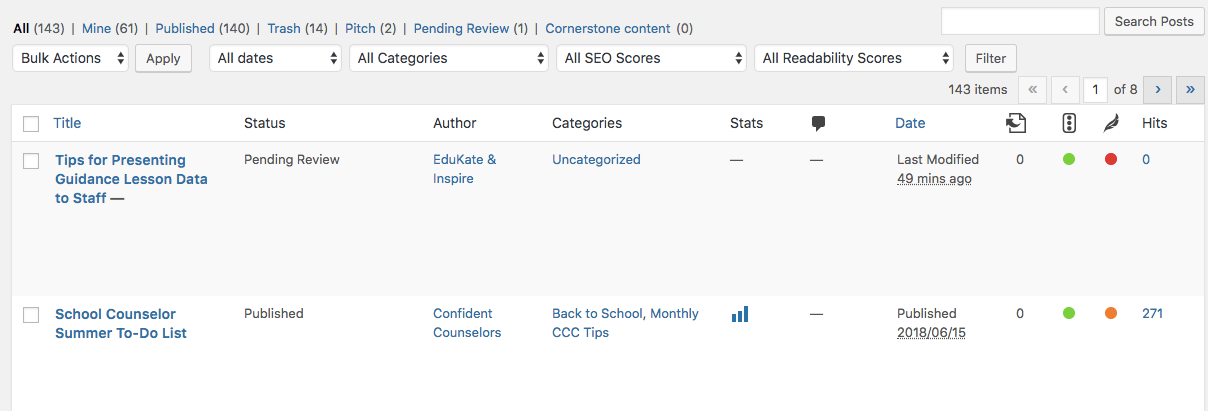
Click Pitch and find you post. Your working title and publish date are there. Adjust your title, as needed. If it isn't there, go ahead and add a new post.
Step 4: Focus Keyword
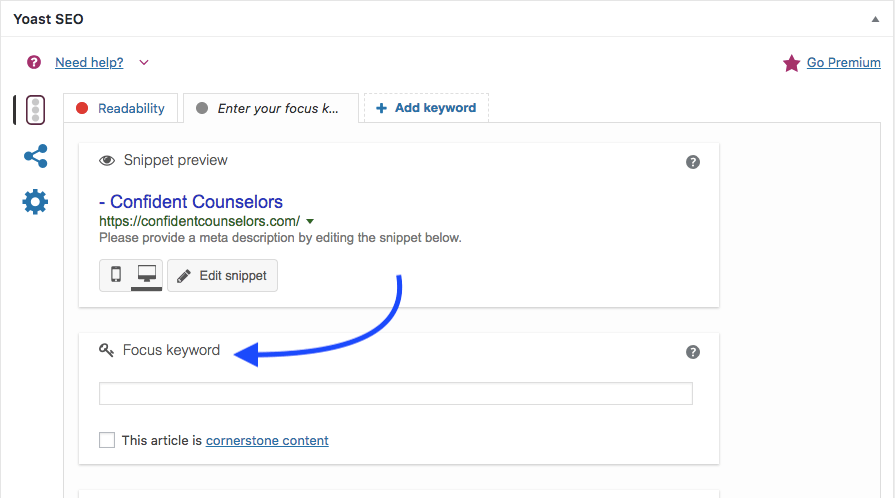
Scroll down and add your Focus Keyword. This should be what someone would search on Google to find the content in your post. This focus keyword should also be found throughout your post.
Bad keyword: small group counseling.
Good keyword: small group counseling activities.
Better keyword: small group counseling anxiety strategies.
Step 5: Snippet
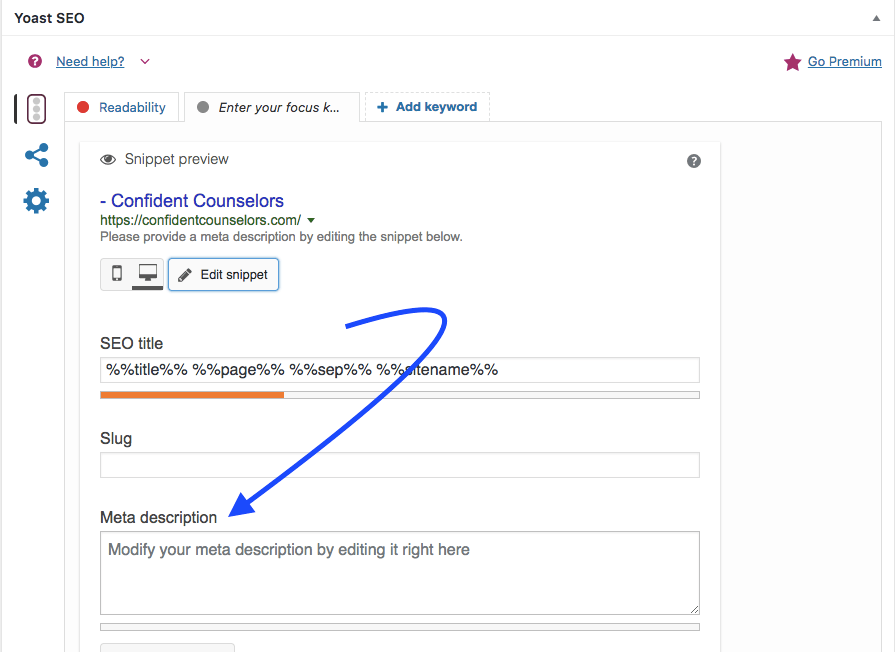
Click Edit Snippet above the Focus Keyword. Write a brief description of your blog post naturally using keywords. This text will show up under the title of your post on Google.
"10 anxiety strategies to use during small group counseling or individual counseling. Mindfulness, deep breaths, and grounding are strategies school counselors can use to support students struggling with anxiety."
Step 6: Add Images
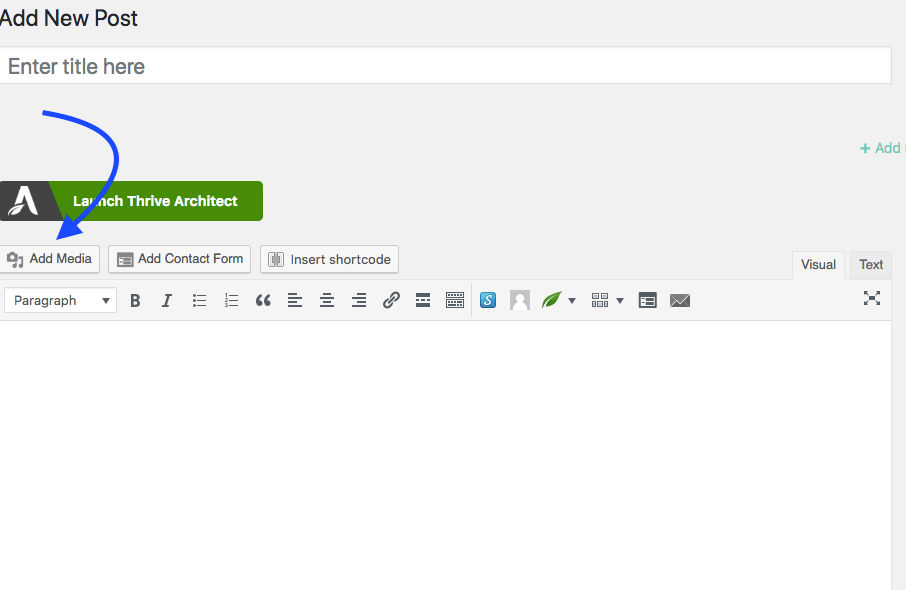
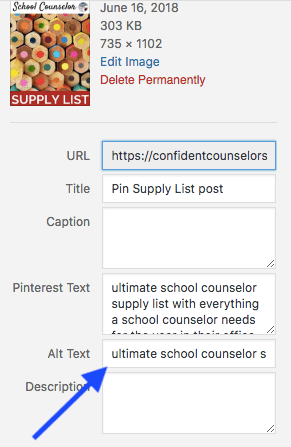
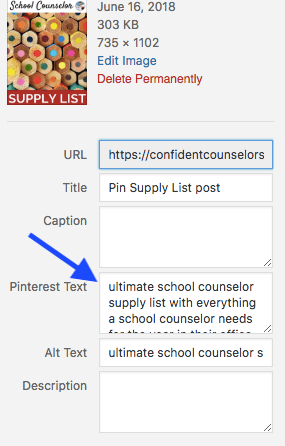
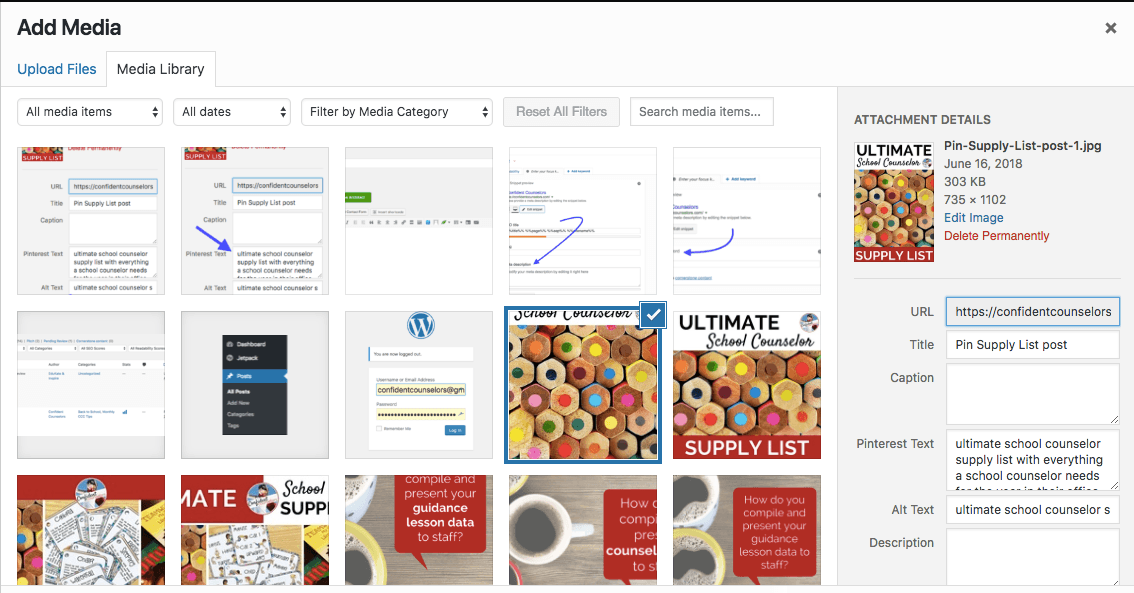
Add all your post and social media images at once by clicking Add Media. Once the images upload, add alt text and Pinterest descriptions. These can be the same, should contain keywords, and summarize your blog post in 2-3 sentences.
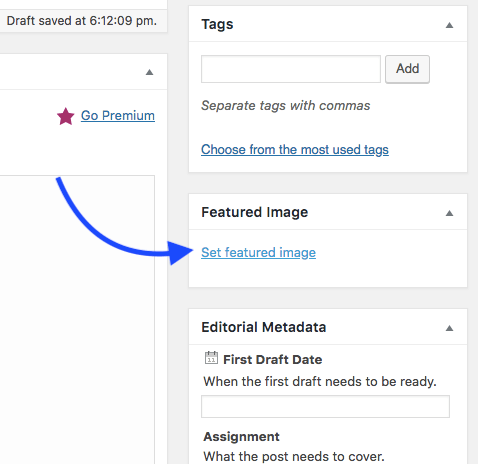
Step 7: Feature Image
Locate the feature image box on the right sidebar. Select your image that is 1200px by 628 px. This can be the same as your facebook image or ideally an image with less or no text.
Step 8: Facebook Image
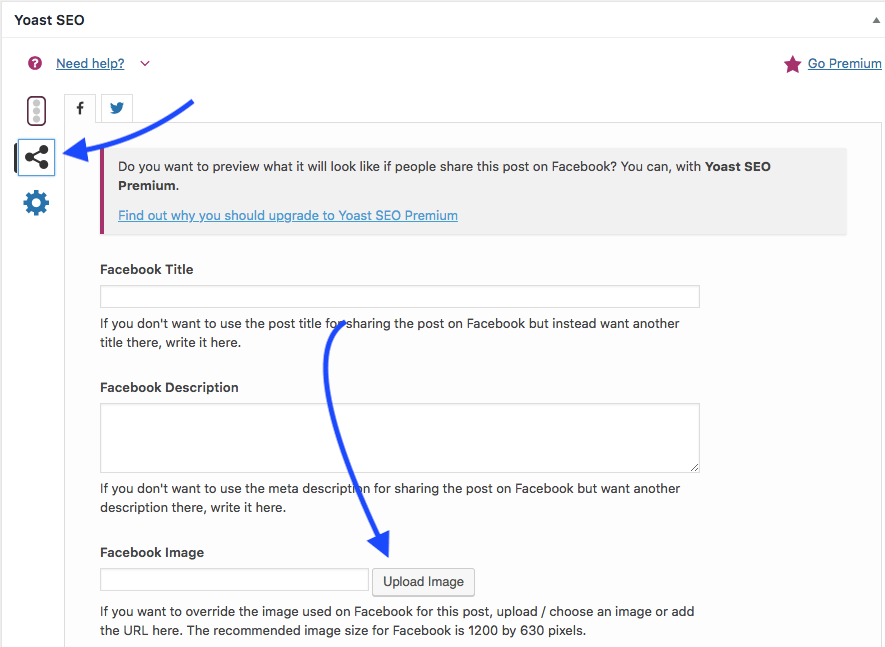
Locate the Yoast panel again and go to the social tab. Add a Facebook image. This is the image that will populate when someone shares the post on Facebook.
Step 9: Add Post Text
Paste your post text in.
- Use headers for sections. If it makes sense, include keywords in the headers.
- Leave 1 space after a period
- Add in hyperlinks to resources, other posts, etc.
- Use UTMs and bit.ly links so you can track the traffic you are getting from the site.
- Break up paragraphs so they are easier to read and skim.
- Add any images into your post. This a great opportunity to show off related resources in a natural way.
Step 10: Pinterest Image
Add your Pinterest image into your post, either at the bottom or within the post by selecting add media. It will insert the image wherever you cursor is.
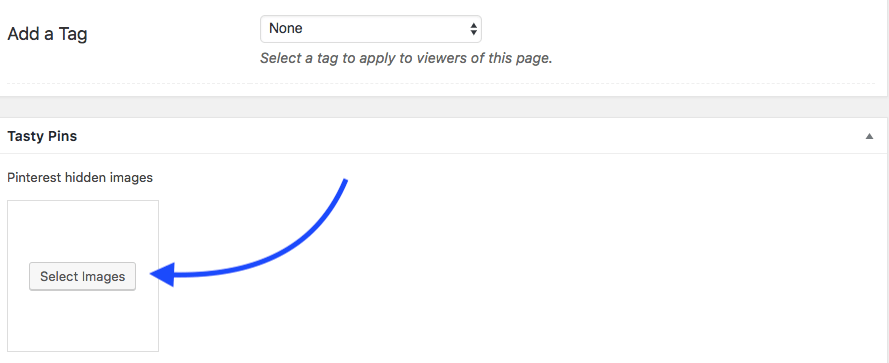
You can also add a second image or hide you Pinterest image using the Tasty Pins plugin. Scroll down under the checklist to find this option.
Step 11: Select Author
Locate the author box below the checklist. Find your name and select it.

Step 12: Pending Review
When you are done, change your post to pending review and save it.
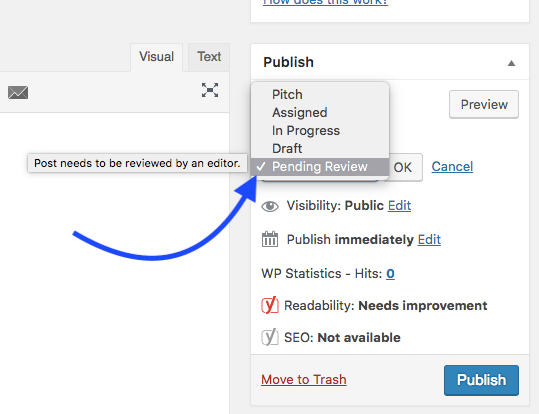
Woot Woot! You are done.
When posts are listed as pending review, editors will know that they can review and schedule posts.
Want a checklist now that you know the steps? There is one embedded in wordpress.
This is a checklist in our collaborative drive too 🙂
